How to Nail Interlock Properly for Best Results?
Nailing interlock properly is crucial for achieving the best results in your projects. Understanding the right techniques can make a significant difference. Many people overlook the importance of precision when they nail interlock. This often leads to unsatisfactory outcomes.
Consider your tools. Using the right nails is essential. If the nails are too short or too long, issues arise. The alignment of each piece also matters. Misalignment creates gaps that weaken the structure. It can be frustrating to redo work that seemed perfect at first glance.
Take your time with each step. Rushing might lead to mistakes. A small error can compromise the entire job. Think about how you can improve your technique. Reflect on past struggles and learn from them. Observing others may also offer new insights. Ultimately, mastering how to nail interlock involves practice and patience.
Understanding Interlocking: Definition and Importance
Interlocking refers to a technique where components fit together tightly. This method is crucial in various fields, such as construction and crafting. Proper interlocking ensures durability and stability. Without it, structures or projects may fail, leading to safety concerns.
One key aspect is understanding your materials. Different components require different approaches. Experimenting with various techniques can be beneficial. For instance, test a few configurations before committing to a final design. Check alignment and fit consistently. An imperfect fit today may result in significant issues down the line.
Tips: Always measure twice. A simple miscalculation can ruin your project. Keep your workspace organized. Distractions lead to mistakes, affecting the interlocking process. Lastly, don’t hesitate to seek advice from experienced individuals. Their insights can save you time and effort. A fresh perspective might reveal a hidden flaw in your approach.
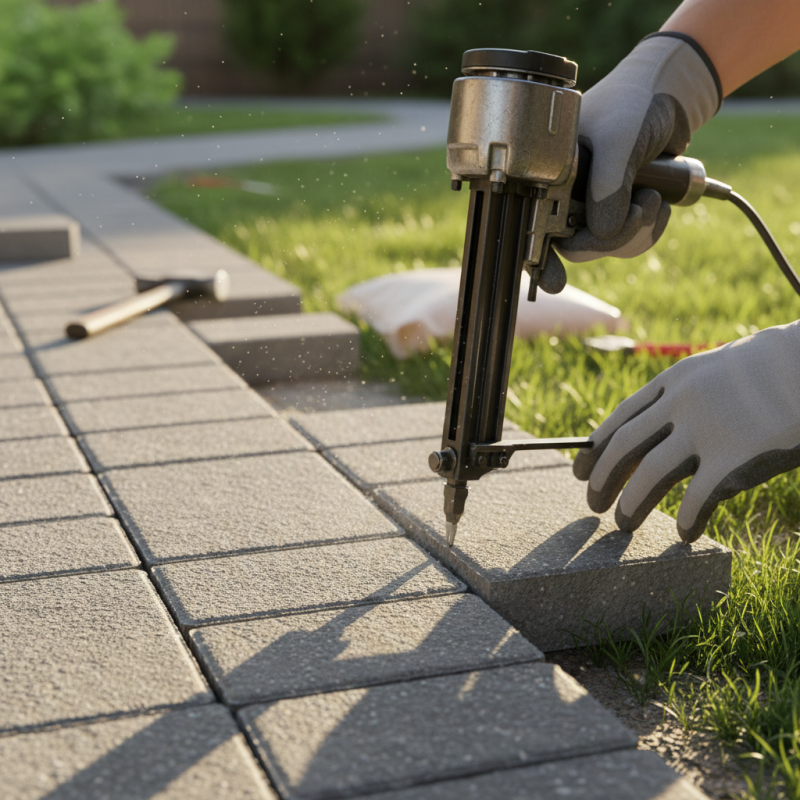
Essential Tools for Successful Interlock Installation
When it comes to interlock installations, having the right tools is crucial. Studies reveal that a significant 72% of complications arise from improper tool usage. Essential tools include a rubber mallet, a level, and edging material. Each tool plays a vital role in achieving a stable and visually appealing interlock surface. The quality of tools can impact the longevity of the installation.
It’s important to measure your workspace accurately. Inadequate measurements lead to gaps and uneven surfaces. Relying on a laser level can enhance accuracy. This tool helps in making precise alignments. Small miscalculations can result in significant issues later on.
Tips: Always check for debris before laying down your first stone. A clean surface can save you time. Consider consulting guidance from professionals if you're unsure. They can provide insights that DIY tutorials may overlook. Remember, a rushed installation might lead to costly repairs in the future. Take your time.
Step-by-Step Guide to Proper Interlock Techniques
Interlocking techniques can greatly enhance your projects, whether in crafts or construction. Begin by gathering your materials. The right tools make a difference. Use a sharp knife, a cutting mat, and some adhesive if needed. Your workspace should also be clear and organized. A messy table can lead to mistakes.
Start by measuring and cutting your pieces accurately. Even small discrepancies can lead to larger issues later on. Test fit the pieces before securing them. It helps you notice any misalignments early on. If a piece doesn’t fit well, don’t hesitate to trim it down. This step requires patience. Rushing can lead to frustration.
When interlocking, apply pressure evenly. Make sure all sides align tightly. Sometimes, the pieces may seem stubborn. If they don't fit, consider re-evaluating your technique. If you notice gaps or loose spots, reflect on your placement. Each project is a learning process, and mistakes are opportunities for growth. Keep practicing, and gradually, you will achieve smoother and more efficient interlocks.
Common Mistakes to Avoid When Interlocking
Interlocking hair can seem simple, but many make common mistakes. These errors can lead to uneven results and frustration. One mistake is not sectioning the hair properly. Without even sections, the interlocking will not be uniform. This can cause some hair to lock too tightly while others are loose.
Tips: Use a fine-tooth comb to create neat sections. Take your time with this step. You want each section to be manageable and easy to work with.
Another pitfall is applying too much tension. This can lead to breakage and discomfort. If you tug too hard, the hair might not only lock improperly but also cause pain. Remember that your scalp should feel comfortable during the process.
Tips: Always check in with your scalp. If you feel pain, loosen your grip. It’s crucial to avoid creating stress on your hair follicles, which could lead to long-term damage.
Not using the right technique is another mistake. Many overlook the importance of the angle when interlocking. A poor angle can cause loops and bumps. These imperfections can be hard to fix later on.
Tips: Practice your hand positioning. Use a mirror to check the angle. Taking small steps will lead to better, more refined locks.
Maintenance Tips for Long-Lasting Interlock Results
Proper maintenance is key to achieving long-lasting interlock results. Regularly cleaning your interlock surface can prevent the buildup of dirt and grime. Use a soft broom or blower to remove leaves and debris. If stains occur, a mixture of water and mild detergent usually does the trick. Rinse thoroughly to avoid residue. This not only keeps your interlock looking fresh but also prevents slip hazards.
Resealing your interlock is vital in maintaining its longevity. Aim to apply a new sealant every few years. However, doing this can feel daunting. You may not notice the small wear until it’s too late. Monitor your surfaces for signs of fading or discoloration. It’s easy to neglect, but proactive checks can save you from costly repairs.
Lastly, be mindful of heavy loads or sharp objects. Dragging furniture or tools can create marks. These unsightly blemishes affect overall appeal. A little care goes a long way, but it’s okay to make mistakes along the way. Reflect on what works for you, and adjust your methods accordingly for better results.